Part Two of A Review of Trafalgar Editions’ Game of Nelson’s Epic Battle
by Paul Comben, Designer:Crisanto Lorente Gonzalez, Publisher: Trafalgar Editions
Trafalgar has a range of advanced and optional rules designed to add a higher level of detail to the process of an engagement in the Age of Sail. Not quite all of these are relevant to restaging the famous battle of October 21st 1805. In that context, to give the obvious example, the rules for shore batteries belong to other designer scenarios, or to what players may create for themselves.
What I want to do here, rather than progressing through the pages of the game’s rulebook saying “you can now add this or should be using that,” I will look at additional procedures where there is a significant change to proceedings compared to the relatively simple “move and fight” nature of the basic rules.
Part
These areas of particular relevance are:
The movement of ships
The nature of artillery combat
The role of commanders and crew
What readers should, and I have no doubt, probably already do appreciate, is that fighting ships of any era are complicated things, and can have a multiplicity of status types and a diversity of functions being performed at any one moment. And what this means is the more detail that is put into a design at the individual ship level, the more demands will be placed on players and the slower things will proceed. Tanks are complicated things as well, and one can get a feeling of that by looking through the recent versions of Panzer and MBT – very weighty and detailed stuff, although that statement should come with a couple of qualifiers: tanks have a tendency to be operational or not; and there is no scenario in either series where you have anything like the number of tanks in play as you have ships in a Trafalgar-style sea fight (for the very good reason that the thing would probably become unmanageable).

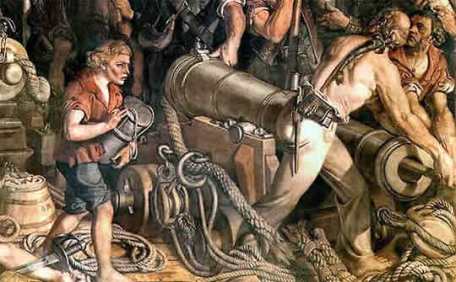
Therefore, what you will not get in Trafalgar, with sixty ships in the combat area, is a lot of overly detailed fiddling around with rigging and sail arrays – that part of the ship’s handling is now simply defined by one of three modes of sail deployment: low, medium and full. There is rather more detail assigned to combat, because, if we are honest about it, that is why we are playing the game in the first place – to experience a battle, not a regatta.
So, the extra movement mechanisms are pretty straightforward, and add up to two or three things controlling ship movement and the options you have whilst movement is in effect – pitching across the wind, and aspects of speeding up and slowing down etc. Not a great deal of this applies to the actual Trafalgar scenario, where there was barely enough breeze to blow out one candle on a very small cake. But by way of offering more for other scenarios, the are mechanisms for varying wind strength (and let us not forget that just a few hours after the battle of 21st October there was enough wind around to blow out the candles on any number of cakes), and thus the rules here provide for detrimental effects on combat (lower deck guns may not be able to fire) as well as which way a shattered mast is going to fall and whether you will end up with half a ton of rope and canvas over your cannon ports.
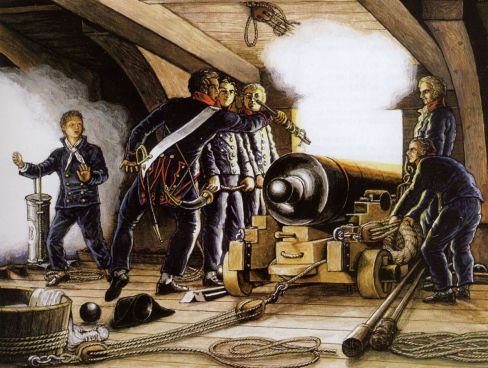
Which brings us rather neatly to issues of combat and damage control. In the advanced game, a crew is given a more nuanced character by dint of it having, via what we might call deck complements, assignments to various duties about the ship. These duties include firing the guns, offensive or defensive boarding details, and, in the course of close battle, attempting to deal with battle damage in order to keep the ship effective – or just plain afloat.
Inevitably, we are getting into areas where some level of micro-management is going to apply. The player will be called upon to make some fine judgments – fire the guns on this or that deck, or have that same portion of the crew assist in fighting a fire, stanching a flood, or clearing away the clutter that is trailing over the side of the ship. Boarding actions, at least by my first inclination, seem a little easier to resolve in terms of levels of commitment – if your ship is under attack, or you are after a prize, you should go in with near everything you have, unless you are aware of the pronounced enfeeblement of whatever it is you are facing.
A ship has as many crew “units” as it has decks – plus one. This means a big brute like Victory has four crews to pitch into whatever range of actions are seemed necessary at any point; and note, it is perfectly within the rules to have different parts of the ship’s complement doing different things – one part fighting a fire, just one part (though probably not a good idea in many instances) repelling boarders, and the rest (if there is anyone else left), firing the guns on this or that deck.
All of this comes at a price – crews get fatigued, and beyond a certain level, a fatigued crew is incapable without it having some pause to recover. The game works on the basis of doing just about anything out of the ordinary (such as reloading both broadsides at once) will increase fatigue; but also mildly inferred is that just a few hours of combat and the exertions of working a ship in the midst of fiery and bloody mayhem are going to be quite enough for anyone. If we compare these realities to the supposed “Second Trafalgar” that was, or rather was meant to be, Jutland, although far more lives were lost that day in 1916, both the on/off nature of that battle, as well as the mechanically aided processes of combat, and the distances between opponents, all meant that a rather different sort of psychology and wear affected its human participants compared to visceral fury of 1805.
Combat within Trafalgar’s advanced options does challenge the player to get the balance between things right – crew apportionment I have already noted, but beyond that there is the matter of loading your cannon with the appropriate ammunition type for what you want to do. Some of the ammunition available in the game is pretty exotic (red-hot round shot, for example); but rather like the tactical formations adopted by Napoleonic landlubbers, there is a potential disadvantage lurking around everything you decide to do.
Red ball, whose “tasty” effect is to start fires as well as making holes in ships, also means you cannot reload such guns with anything for two turns afterwards whilst you wait for the tubes to cool down. It is also only available to be loaded at scenario start, so what you do not want is sending your red hot balls off at the wrong time, leaving hale if slightly smoky or smoldering opponents to close in on your dormant broadsides ready to unleash some more appropriate hurt of their own whilst your own crews are still blowing down their muzzles. Other types of ammunition, like grape, have plenty of potency, but are only effective at very short range; double shot is similarly short on range, but also takes longer to load; so overall the lesson is: beware of what you are doing, as an incorrect ammunition selection or overtaxing your crew can contribute to some situations you may have real problems getting out of.
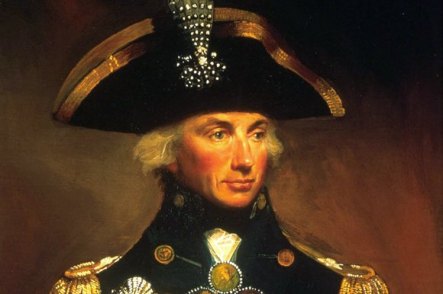
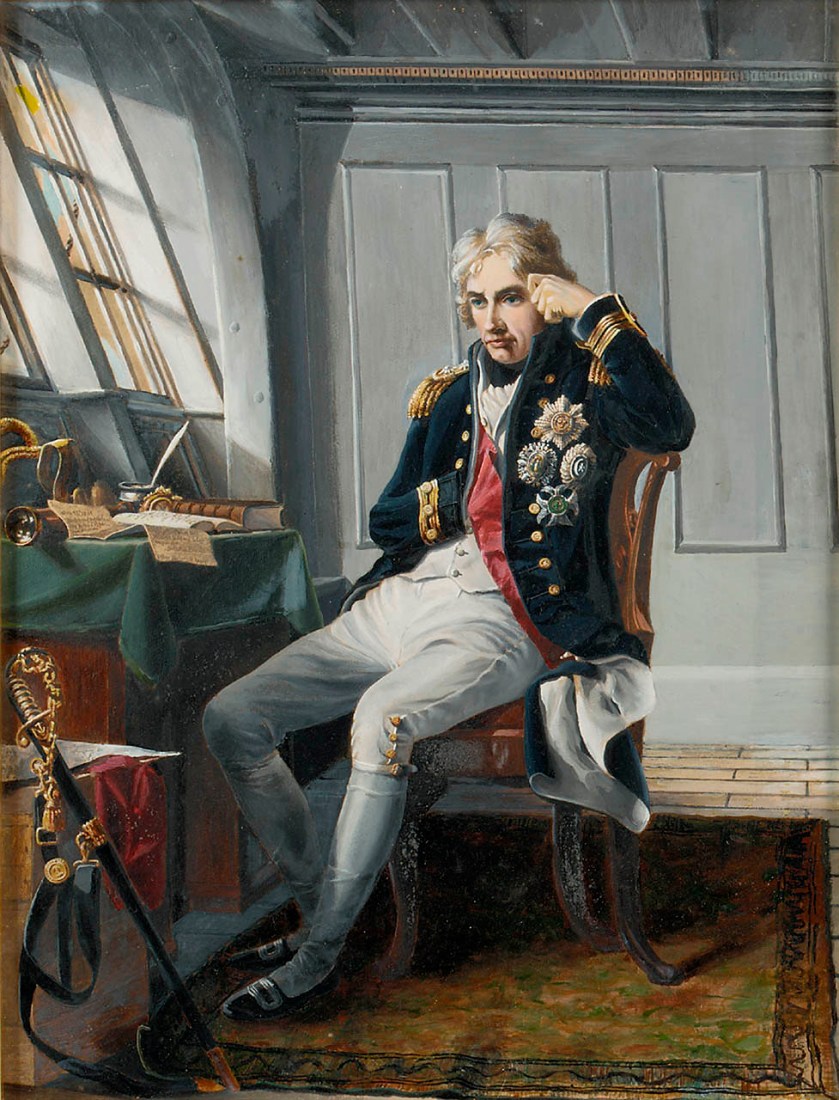
And what about a bit of game colour beyond red balls and things falling overboard? Well, ready to begin pacing the decks in the advanced game are the key commanders present that fateful day. The main purpose of these commanders is to provide favourable modifiers for ship maintenance and boarding actions. As you might suspect, Nelson has a very impressive modifier, whereas a dolt by the name of Dumanoir is about as inspiring to his own men as a wormy biscuit. You can also extend commander functions into the realm of division orders (for team play), with better commanders able to make their purposes known to ships at a greater distance from their own vessel than might some total mediocrity.
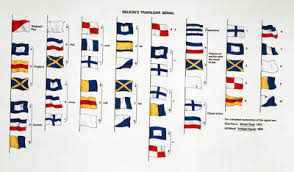
One thing missing from this, as far as I can tell, is any sense of ships within a specific command relaying signals to the next in line. If I have the right of it, in the Flying Colors system, ships can relay orders to others providing the “chain” is not broken. However, in this design, better command quality is simply represented by a greater initial reach (as measured by this or that part of the fire template) – and beyond that, whatever it was that England Expects could be lost in the mail.
When it comes to national characteristics, one enjoyable piece of chrome is the action of Spanish crews nailing their colours to the mast. This is indeed a uniquely Spanish action, and applies to ships that are both damaged and have a living officer/commander on board. It is not an automatic action in the sense that wanting to do it means it happens; a die is rolled, and in most cases there is a one-in-three chance of the colours being nailed to the mast in question – fifty-fifty if another ship has already done so, and increased chances again if a decent leader is present. Ships so showing are considered fanatical and are immune to surrender rolls; but it is a once per game action for each qualifying ship, and if the officer on board is killed, the status is lost.
A great else of what could be called colour or chrome pertains to why the Royal Navy won as big as it did historically: they have more veteran crews, and veteran crews, amongst other things, are better at fire combat and do not fatigue so readily; furthermore, they have the better leaders, have the benefit of what wind there is, and possibly reflecting their greater use of carronades,[1] will add one hull damage to whatever else they do at pointblank range.
One last thing to add here is a rule that pertains both to Trafalgar and to any other scenario where a line of ships is broken into. As we find across the hobby, in all sorts of games where aspects of historical practice and “outlook” are brought into play, there are often issues as to what constitutes losing heart. In this design, losing heart can lead to ship surrender, or in the broader case, the ships of a division seeking to leave the battle area completely. Ship surrender can occur, to give one instance, when the vessel’s commanding officer is killed (it is assumed the ship is now in a shaky state of morale); ships attempting to clear off wholesale is the product of a negative roll (influenced by the relevant commander(s) modifier) after the line formed by that division(s) is broken via the incursion of enemy ships.
I have mulled over the officer loss/surrender mechanism, and in my own personal opinion, it needs a tad more refinement – for me, as it is, it is simply too crude a device. I find it near impossible to believe that any Royal Navy ship present at Trafalgar would have struck simply because the captain had been killed – unless such a situation were accompanied by the battle as a whole going markedly against the British. Elements of the Combined Fleet may have been more prone to such an occurrence; but then, in addition to matters pertaining the local situation as the battle rages, there is also an issue of overall fleet morale. This is something I would like to see represented in the game mechanisms – the ability of a fleet as a whole to withstand the trials of combat, or its propensity to fail at the moment it suffers a reverse.[2]
The line mechanism is easier to comprehend and accept. Nelson and his trusted captains may have had no compunction about mixing it with the enemy, but the enemy often preferred to keep things as regular as possible – not that they ever succeeded much. One trait of many of the truly great commanders is that they never fight the sort of battle the enemy would wish or expect them to, and from the moment that enemy realizes that they are being led right out of whatever comfort zone they presumed themselves to be in, they are put out of reckoning and made all the more susceptible to signals of defeat.
Which is all fine and dandy, but what about the game? One thing to stress is that adding a mix of advanced rules does not entail any great increase in what is, from the start, a pretty mild learning curve. The amount of bookkeeping will increase, simply because you are using a more detailed game model of the ships on the board. But near everything in that regard is provided for on the tracks for each individual ship – for the most part, you simply have a greater choice of what you can or need to put on the logs.
Something that has struck me about this design is that I have not been doing the amount of rules-checking I often feel obliged to do with games I am relatively new to. There are a few grey areas regarding little nuances of this or that, but not that many of those, and the team over in Spain are quick to answer any questions. Of course, repeated plays may identify some other issues, but I have not managed that many plays as yet so I can only report what I have experienced thus far.
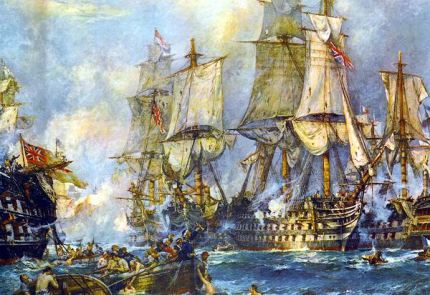
In all, I rather suspect that players will use their own selections of both the advanced and optional rules to get the game they want to play – perhaps keeping the movement rules in their simplest form whilst adding more tactical flavour to the booming and boarding and banging about. And why not? It is an enjoyable experience, and a real treat for the eye with sixty ships knocking into each other and most of the markers, not quite all but most, kept off the sea, off the ships, and sitting instead on the tracks and logs provided.
Footnotes:
[1] The French did have carronades, but as Mark Adkin notes in The Trafalgar Companion, they were relatively new additions and were not a weapon the crews were overly familiar with.
[2] I follow the logic that if a ship has a greater chance of nailing its colours if some other ship has already done so, crew performance may likewise fall short of the best if a significant amount of the fleet has already been lost. This is not the same as “lose the captain, lose the ship,” as that seems to be a threat even if you are on the verge of winning.
A telling presentation of morale effects can be found in Norman Stone’s World War One – A Short History. Writing of the dissolution, bred of poor leadership, overcoming German units in late 1918, the historian recalls the contrasting experiences of the rival fleets in the weeks leading up to Trafalgar – the French admiral having to leave a thousand “sick” in the West Indies, whilst Nelson, in close to the same location, lost not a man.
About the Author

Paul has been involved in the hobby since the early 1970s. Of largely Belgian ancestry on his father’s side, and English (Yorkshire) on his mother’s, after finishing his education he worked in tourism and student services, and also spent some time in the former West Germany. He met his wife Boo in 1990, and they married a couple of years later.
Paul hails from a long line of former servicemen – one grandfather was a sergeant in the BEF of 1914, whilst two of his great grandfathers were killed serving with the Royal Navy. His own father, who was born in Britain, served with the army in Malaya in the early 1950s.
Related Articles:
Iron and Oak – A Boardgaming Life Review
The Tide at Sunrise: Naval Rules (Review)
Legion of Honor – A first look by TheBoardgamingLife
Flawed Commander Nimitz? A BoardgamingLife Review
Battleships Do Not Themselves a Battle Make – A Study of Naval Warfare in the Great War Era
