The Last Vikings
The Swedish Army at Kliszόw 1702 and Fraustadt 1706
Author: Paul Comben
Designer: Sławomir Łukasik
Publisher: Strategemata
Here and there around the passages of arms there are events that the board wargaming hobby has not devoted a great deal of attention to. The Great Northern War, and indeed many of the battles of the late 1600s and very early 1700s, irrespective of what war they belonged to, are a case in point. It is not a matter of complete oversight, but rather one of rather sparse coverage. We are, at least in certain cases, in the region of battles a broader audience has never actually heard of or has willingly passed by even if it has. And to my mind that is something of a pity as one of the most interesting aspects of the study of military science is when the practice of arms enters a phase of notable transition.
This certainly applies to the battles presented here, and to the era in general. In a time of military evolution, finding the balance between firepower and shock, and within both disciplines, the optimum use of the weaponry available, is very much part of the story. And inevitably, armies that were shaped by varying perspectives on leadership and what we might broadly call national temperament came up with an assortment of methods – some of which were to prove rather more effective than others. In the book Destructive and Formidable by David Blackmore one can trace the gradual evolution of the battalion firing practice that was a keynote of Marlborough’s army. Other nations came up with their own ideas – or, for better or for worse, simply stayed with what they already had. With regard to the game we are studying here, Brent Nosworthy’s The Anatomy of Victory, analysing method from across the continent, is featured topmost in the supporting literature’s bibliography.
The Swedes, of course, had been at the forefront of European military innovation since the time of Gustavus Adolphus. In the wargaming context, anyone who has experience of relevant volumes of the Musket & Pike series will note the especial advantages and sundry other distinguishing traits of the Swedish army. It should be noted, however, that innovation does not necessarily imply either entirely new weaponry or some incredibly radical change in fighting technique. As we will see in more detail later in this article, the Swedish “Ga-Pa” mode of attack was essentially a combination of means drawn from the battles fought by their forebears just a few decades earlier – close range salvo fire and then a short distance charge with levelled pikes.

These tactics, coupled with the strict discipline of the Swedish forces of the era (rather akin, one senses, to the dour/resolute – take your pick – Protestant ethos of Cromwell’s New Model Army in terms of the standard set for personal conduct) made the Swedes a formidable adversary on many a field. The problem was, as it had been in the Thirty Years War, that too much fighting for too long would eventually create its own form of martial entropy. History is littered with the stories of great and supposedly unbeatable armies that went one or more battles too far and ultimately crumbled away. Barbarossa, Borodino, Poltava…Russia has a habit of humbling the supposedly irresistible force.
But not here…not yet, and at least not historically…
The Last Vikings (Strategemata) features two battles from the Great Northern War – Kliszόw and Fraustadt. Apart from those rules necessary to give each battle its flavour, the same system applies to both. Much of this review is based on my play of Fraustadt, where an outnumbered Swedish army demolished a larger host of Saxons and Russians in brutally quick time. To my mind, it is one of the key aspects of any simulation that not only do you get to do things differently (albeit realistically), but also have the chance to understand why things happened the way they did. To that end, I was ready to do a bit of out-of-game detective work in order to see what made the Swedish army work that much better on the battlefield, and then see what aspects of this translated itself into game systems and unit values.

But before coming to that, we need to take an initial look at the design’s mechanisms.
One early impression I formed was that the model had a modest likeness to the GMT Musket & Pike series, albeit with key differences i places. Perhaps one should not be too surprised at this, as these two battles take place just a few decades after the events covered in that six-volume family of titles. Perhaps the two most obvious similarities are the turn activations by wing and each wing having its activity determined by what order it is currently under. However, whereas Musket & Pike operated with four such orders, The Last Vikings has just the three – Defend, March, Assault. Furthermore, there is no sense of Musket & Pike’s “working through the gears” to give a wing its most efficient path to a desired order – rather, an order can change to whatever new form if a supreme commander is in range, or providing a command roll equal to or less than a subordinate leader’s independence value is successfully achieved.
One key aspect of design difference is the use of morale reductions in The Last Vikings to reflect a multiplicity of events and conditions. Superior morale offers a boost to combat performance as well as being expended/lost as the main element of combat results; but in addition to those elements, morale loss also represents the consequence of particular unit types (primarily cavalry) entering difficult terrain , and units in general simply wearing out psychologically by being pushed too far – even if they are being victorious. To some extent, morale can be recovered, depending on such matters as the unit’s present order and proximity of enemy forces. But there is a tipping point. Most units can be on the map at either some measure of their full strength (with a chance to rebuild if circumstances and player preference permits) or in a flipped and therefore weakened state (values cannot rise any higher). However, it is by no means a certainty that a unit that drops below its full-strength profile is just going to disappear for a few turns of reorganisation before returning close to its commander. Such units, in fact, as might drop to zero morale while on their full-strength side are very likely to be blown away altogether.
This is one fundamental reality of the design – units can endure through successive blows, or even the more hardy can be blown away in something like an instant. If you baulk at this, please remember that Fraustadt was decided rather swiftly, and what was a sizeable Saxon/Russian army with a fair amount of artillery and some formidably armed infantry managed not much more than playing the victim’s role in yet another battle later compared to the likes of Cannae. We should now look at some typical units from the opposing armies and what their leaders and those leaders’ orders can bring about.
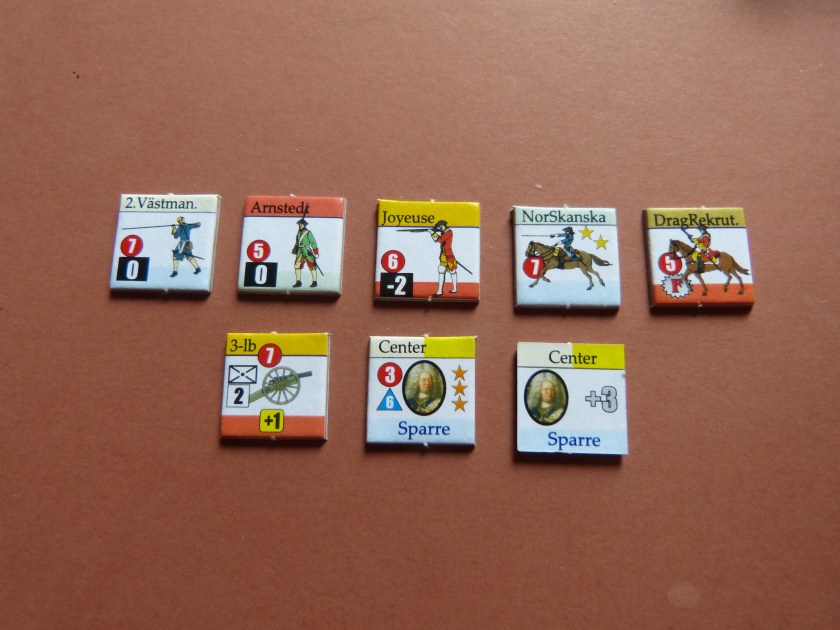
Pictured above are several combat units from the game as well as a leader and his activation marker. The leftmost unit is a typical Swedish infantry formation. With morale tested using a d10, it possesses a starting morale level of 7 (modified rolls higher than current morale create various adverse effects – such as further morale drops, retreats, and even routs). This figure for starting Swedish infantry morale is common to all such Swedish units and is at least one point higher than most of the enemy infantry forces they face. This potentially supplies the Swedes with both a positive melee advantage (morale levels are compared as part of the process) and a bit more endurance in the to-and-fro of battle, but it is a narrow margin that can readily be lost during an advance towards fairly capable enemy units. The 0 fire modifier is as average as it looks, and maybe it will not come as much of a surprise that many units across the field will struggle to do vast amounts of damage with musketry alone.
In fact, the key Swedish infantry characteristic is lurking among in one small section of the rules and one portion of the game’s charts. This is the Ga-Pa attack – something embedded, as I found out, in the Swedish martial attitude of the time. Swedish infantry operating under an assault order, providing they pass their own initial morale check to “go in” will cause the rout of any opposing infantry that then fails its own melee morale check – a check which, among other factors, will be adversely modified for facing a Swedish pike assault. If the Swedes can get anything like success against the enemy line using this tactic (it is integral to Swedish assaults) the opposing player risks seeing holes torn in his line that will be hard to repair. To make it clear, successful Swedish infantry melees will wreck units, often beyond repair. There will be no push and shove and no slow falling into disrepair – if the Swedes break enemy units this way, they do not retreat or suffer just a bit more hurt, they are instead taken off the map with not much chance of coming back in any useful condition.

The next infantry units are examples of the somewhat mixed bag the Swedes are facing. In truth, the Saxon/Russian army was not in the best of condition – hence the lower morale values and the lamentable fire modifiers on some of those infantry units. However, even with the cold getting at them, a number of these units possess a potent -2 fire modifier (the best results require lower die roll totals). The Swedes have nothing like this, and while we are on the subject of what the Swedes have not got, note that they have no artillery on the display…which is because they did not have any at Fraustadt.
The Swedish cavalry unit presented next could be described as elite in the game’s context. This is primarily because of its impetus rating – the two stars on the counter. Most cavalry units either have one star or no stars. Impetus is a contributing element to melee calculations, and whoever has the greater rating gets a modifier working to their advantage. By contrast the Saxon/Russian unit has the morale rating of the martially disappointed, no impetus rating (understandable given that it is a dragoon) but does have a form of firepower ability. To be more precise, it has a miserable firepower ability, with just a 10% chance of hitting anything with modest effect – a morale “hit” of 1.
Saxon artillery (pictured second row) comes in two varieties – field and infantry guns. The infantry symbol here denotes infantry guns. Both have rather limited mobility, range, and (in the case of the fairly numerous infantry guns), limited hitting power – note the +1 fire modifier. Nevertheless, they can certainly bother the advancing Swedes, and the infantry pieces do have the advantage of being able to operate without getting in the way of any infantry stacked with them.
Finally, we have a rather capable commander of the Swedish centre wing, Sparre, whose two-tone colour band on the top of his counter denotes that he can command all components of the Swedish centre command. The circled figure is his morale modifier (considerable) and the figure in the triangle is his chance of changing an order himself if the supreme commander is out of command range – i.e. rolling 0 – 6 on a d10. As described in the scenario special rules, Sparre has to be within one hex of his own units (those with the cream coloured band) or three hexes of the other centre commander who directly leads everything else in the wing. And with a +3 modifier to the activation round roll-off, there is a decent chance (but certainly not a sure thing) that Sparre will have the edge in determining initiative/ tempo when his wing is brought into play.

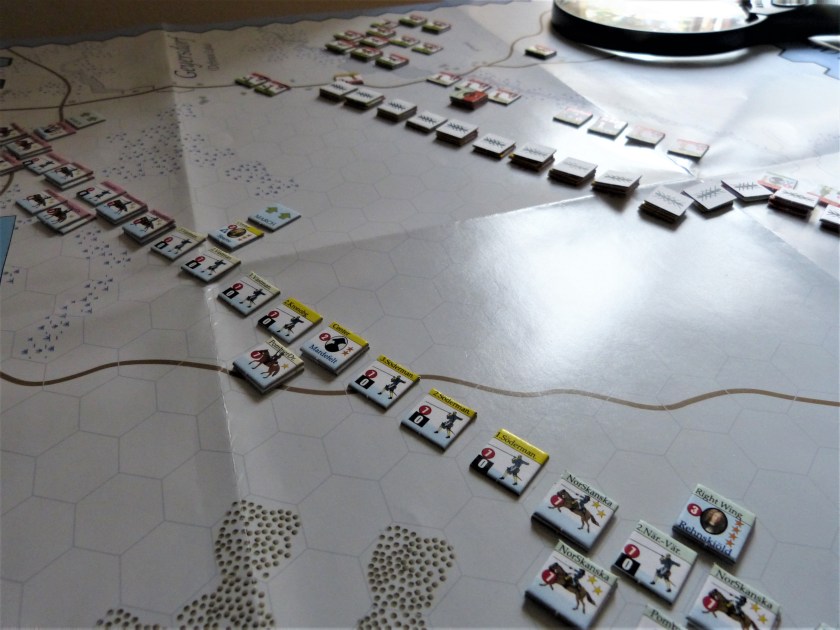
Pictured Above: The Fraustadt Battlefield
Note the Chevaux de Frise markers.
When it comes to the orders system, early play suggested to me that while the Saxon army cannot afford to be too passive (the whole assembly starts with Defend orders whereas the Swedes are all in March) it is probably (debatable) a good idea to hold back from overreacting to the impending Swedish attack by lurching into Assault orders. As with Musket and Pike, every order state has its plusses and minuses.

March and Assault Order Markers – to be placed close to a wing commander. Defend orders are designated by the absence of an order marker.
Mobility is severely restricted with a Defend order, and March orders cannot be employed to move next to enemy units. Under an Assault order there is a requirement only to move forward (frontal arc) and melee combat is mandatory (well, the attempt is) once a unit is adjacent to an opponent. Certainly, in Fraustadt, it is really a matter of judgement for the Saxon player as to how much of their initially defensively minded army they make more proactive, and what degree of aggression they attach to that.

Unless they are facing a damaged/disjointed Swedish force with fresh units in decent numbers, there must be the temptation to keep the Saxon army reasonably mobile (March) and see what the artillery and the better Saxon infantry units can do – at least initially. One other consideration that can play into this is that the different orders have a declining progression in terms of their rally and recovery facility. Recovering lost morale points is much easier in Defend than in Assault, and while it is not impossible to recover some points under an Assault order, the numbers are not great. If you can get a damaged Swedish wing to move out of the Assault order that scenario rules permit it to shift into automatically (from the initial March order), that may well be your signal to get more aggressive – unless you are too damaged yourself, or you are happy with your position and simply winning the game by doing the minimum necessary.
And what of those leaders? Although placing a leader in the line to head a key assault will most likely appeal or even be necessary at some point as they can give a substantial morale boost, their primary role in this system is to keep things in command and moving…or only moving the way you want them to. Supreme commanders get to gallop hither and thither, moving at a rate of four hexes each time a wing from their army activates. Having such a leader in command range of a subordinate means orders can change automatically. If the supreme commander is not travelling fast enough to the required wing, an aide de camp can be sent on the way (if one is presently available) who will deliver the order the following turn. This is an important facility as a bit of planning can see a supreme commander getting orders changed efficiently both where he is as well as where the aide is heading off to.
The Initial View from the Centre and Left of the Swedish Line
What you do not want to do is what I did the first time around, when on the Saxon side of things I got my key leaders wrong-stepped and could not change orders to counterattack the Swedish infantry that had demolished much of the Saxon first line – it needed to happen there and then, and frankly, it was not going to…end of game.
To a certain extent the game system contributes to units and leaders wandering off to the wrong place. Assault orders create an extra “momentum” move of one hex at the end of regular movement for combat units, and if you have not catered for this in the placing of your leaders, units can end up beyond command range and thus become somewhat rudderless in the stormy seas around them. Furthermore, if you engage in melee as an attacker, victory requires a pursuit move of at least a hex, which can lead to problems depending on how your units end up. Command can be extended beyond normal command range if units are in linked hexes, but one thing guaranteed to muck that up is some units advancing while others stay put or are even required to fall back.
Something like chaos will inevitably reign somewhere, and the likeliest prospect for that are the cavalry wings. The ability of either player to control events to some unlikely degree is undermined not only by assault requirements and melee advances or ripostes, but also by what will no doubt be a familiar mechanism to many – the counter charge. Deciding, as the currently passive player, to launch a counter charge in this place or that requires a certain amount of consideration. Yes, it can be a positive thing to disjoint an enemy move by pre-empting it, but as a result you might just be putting your head in a noose. These situations have a habit of becoming very complicated as there can be a lot of active cavalry on the move and a lot of passive/reactive cavalry getting in the way. Counter charges occur and are resolved while an activation’s movement is still underway, so beyond seeking to thwart the active player’s purpose, the reacting player does have to give some thought as to how the following melee phase is likely to play out, as well as later activations, if he has put too much cavalry out on a limb.
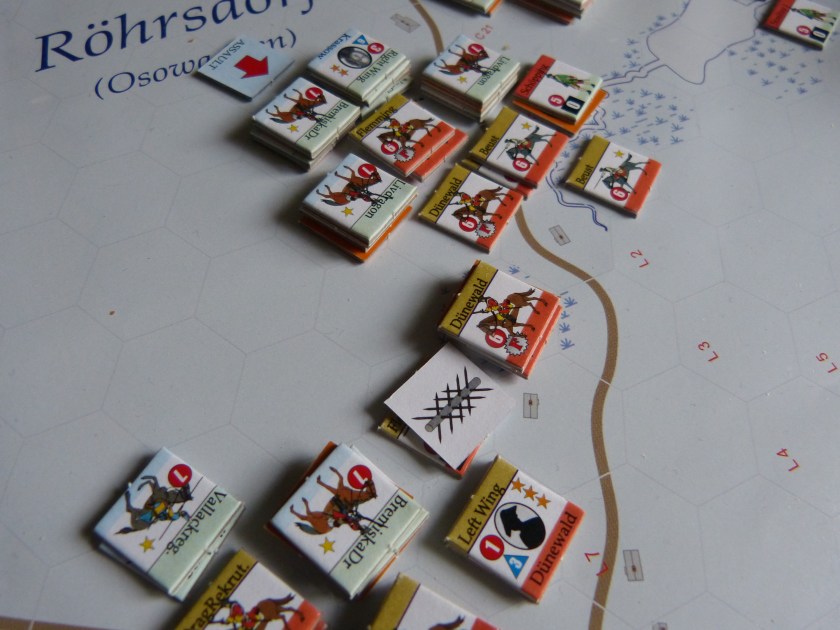 Fraustadt – The Saxon & Russian Left Wing
A number of “overly enthusiastic” counter charges have left elements of Dunewald’s cavalry in a less than ideal position.
Cavalry combat can indeed become rather messy and chaotic, and no doubt there will be plenty of readers, including players of Musket & Pike, who will say that is exactly how it should be. However, I do think it fair to point out to a broader audience that this is one aspect of this type of tactical game where things can get a little tedious. There are quite a few cavalry units in the game (both battles) so cavalry clashes are likely to require constantly feeding markers into stacks of closely packed units in order to record gradual declines in morale status. This is not something I especially enjoy, but it is fair to remind readers again that this system has nowhere near the number of status markers the Musket & Pike series has. Nevertheless, if there is going to be a moment when you will need to get the tweezers out, this is it.
Be that as it may, I did feel that the combat system worked perfectly well, and I liked the perspective of measuring combat effects in terms of diminishing morale rather than shrinking units. Indeed, much that pertains to combat ultimately comes to a morale showdown – and morale showdowns are first and foremost about the conclusions of melee attacks (which include their own round of fire combat) rather than fire combat which is just two units firing speculatively at each other without actually closing. In my recreation of Fraustadt the Swedes did plenty of closing, but although they also won a big victory, I never quite lost the feeling, until the game was close to its end, that it could all go horribly wrong. Both limited time (number of turns) and a relatively small army mean that the Swedes do get a “second go.”
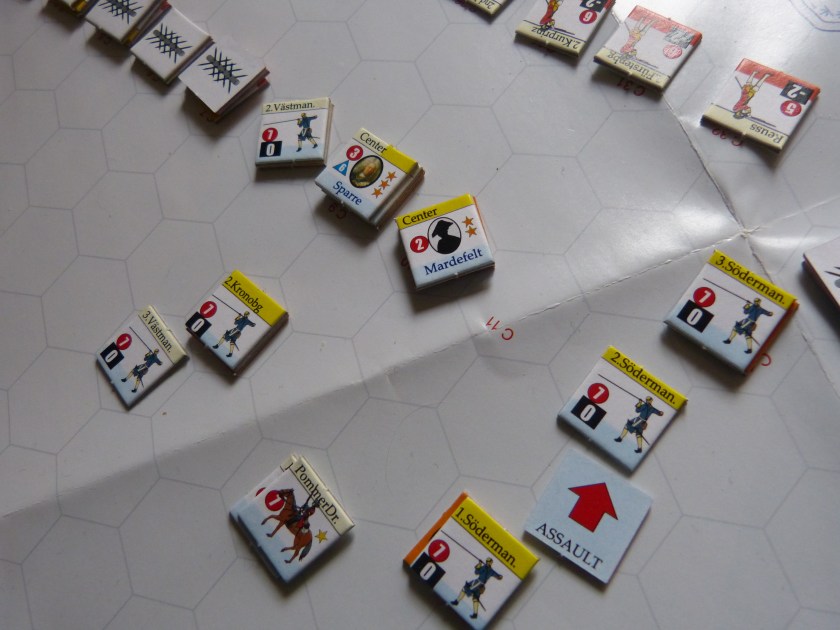
The Swedes have ripped a hole in the enemy first line. Via a March order the second line could respond with effective musketry – only some fool (guess who) did not move them out of their Defend order. Oh dear!
The other battle in the box is the slightly earlier affair at Kliszόw. This is a bigger battle with a larger number of dedicated rules, but like Fraustadt it does come with unit set up displays that should make preparing the game much easier than trying to match designations to hex numbers. And if you are wondering about the physical quality of this game, I thought it was both attractive and functional. These are probably the best components I have seen in a Strategemata title, and as my own personal choice there was no way I was going to waste time clipping counters that fell off the sprues with a slight push and then separated very cleanly. Yes, there are very small nubs to top and bottom, but to my eye at least they are barely noticeable.
These are probably the best components I have seen in a Strategemata title
Before highlighting a few key features from the Kliszόw battle, this is probably as good a place as any to highlight the other criticisms and observations I have regarding the presentation and functioning of the system. To begin with, although it is commendable that the scenario booklet contains lengthy historical notes on both battles, I cannot help but think that both sections could have been made shorter in order to accommodate some actual play examples. Although this is hardly a complicated game, the lack of a few diagrams showing things happening probably meant that I had to ask the good people in Poland more questions than I might otherwise needed. There are a few text “for instances” here and there around the rules, but no diagrams along the lines of: “Here is a Saxon cavalry unit counter charging a Swedish unit, and nearby there is A, B, and C…”
Another mild negative is the slight shortage of markers for particular things. The Chevaux de Frise markers one uses for Fraustadt also have other status indicators on their reverse side, and these appear nowhere else. Thus, until the Swedes start knocking stuff over, you might have to wing it through certain procedures – not many, but just the odd one here and there. I do not want to be overly critical about this as I understand that budgets are tight and it would have meant going to another countersheet, but at the same time you may find a few shortages occurring – I was also virtually out of 1 and 2 morale loss markers but happily the game ended just as that was happening.
But now, on to Kliszόw.
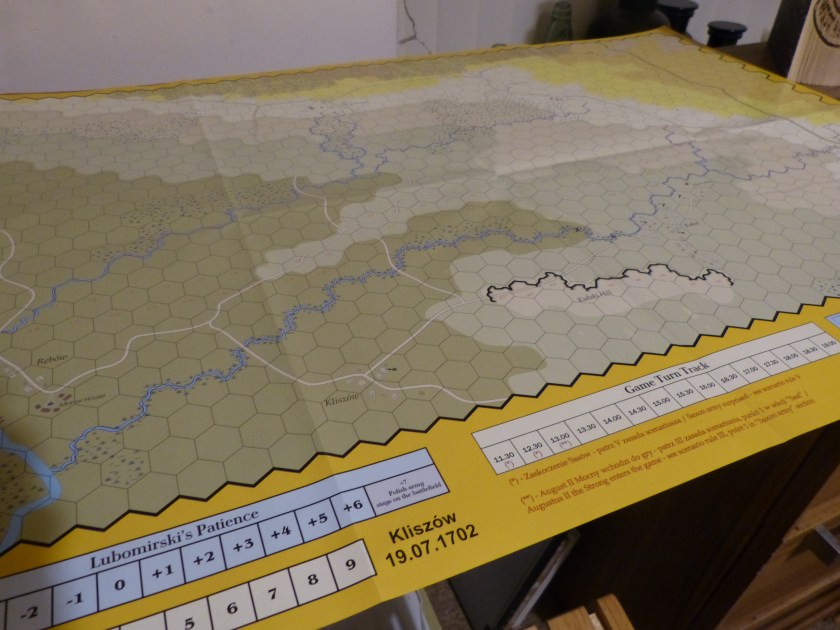
The Kliszόw Battlefield Map
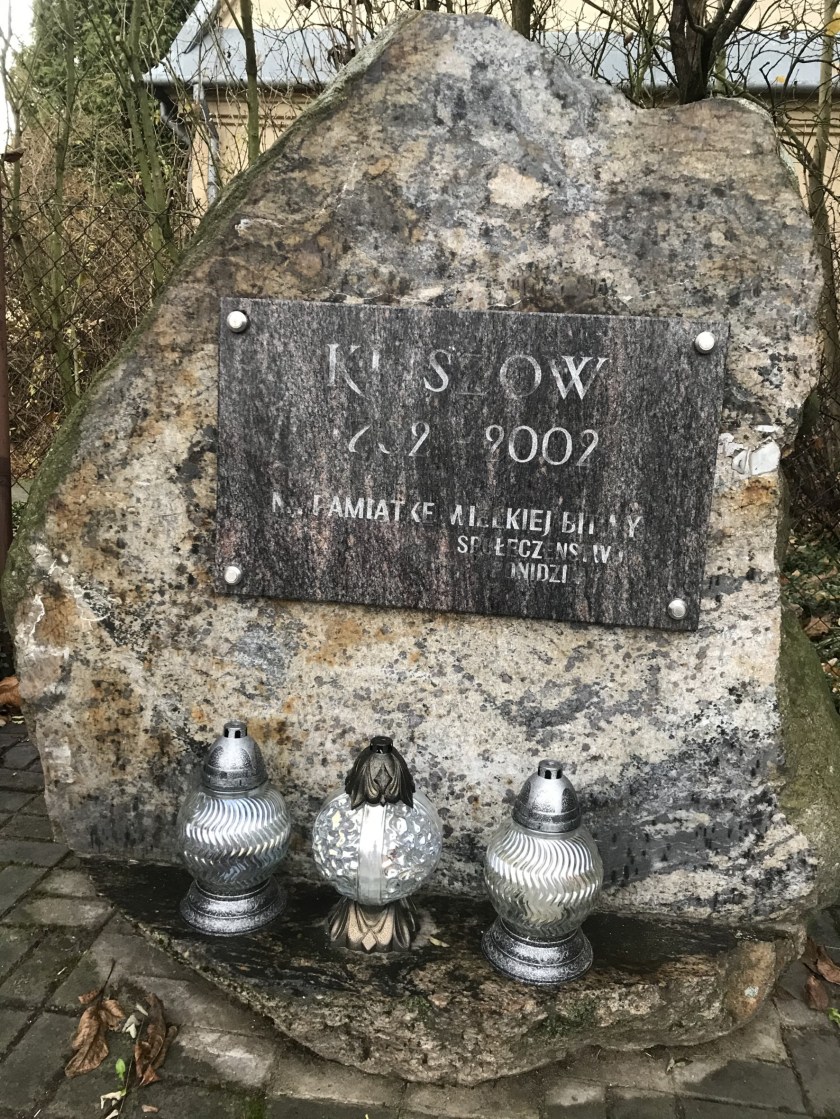
Parts of the battlefield today
Not only is Kliszόw a larger battle, it is also a more complex one (hence that greater number of dedicated rules).
The most interesting of these are the rules governing whether the Polish cavalry army does anything useful by way of actually entering the battle on the side of their putative ally, the Saxon, Augustus the Strong – in colloquial English terms, someone probably best described as “a bit of a lad.” Rules for any military instance of “will they, might they, won’t they?” are a potential nightmare of tangles, so it is understandable that the game’s rule for the Poles doing something other than watching are kept simple – if the Saxons enjoy success in on-map combats the marker on the track representing the Polish leader’s take on things goes up towards intervention; but if things do not go well the marker moves the other way and the Polish cavalry will be clearing out. Looking at the track, which has a shorter path to quitting, it is a bit more likely that the Poles will be wishing the Saxon host and its rutting and carousing monarch “Do widzenia.”
To offer a little more nuancing in this regard, you can bring in a small optional provision that will permit the Poles to launch something like the small charge they did make with a negligible portion of their otherwise undecided force, though I am tempted to say that could have been taken a little further by adding the prospect of an extra negative movement on the relevant track if any portion of this four unit contingent is forced to retreat or is routed.
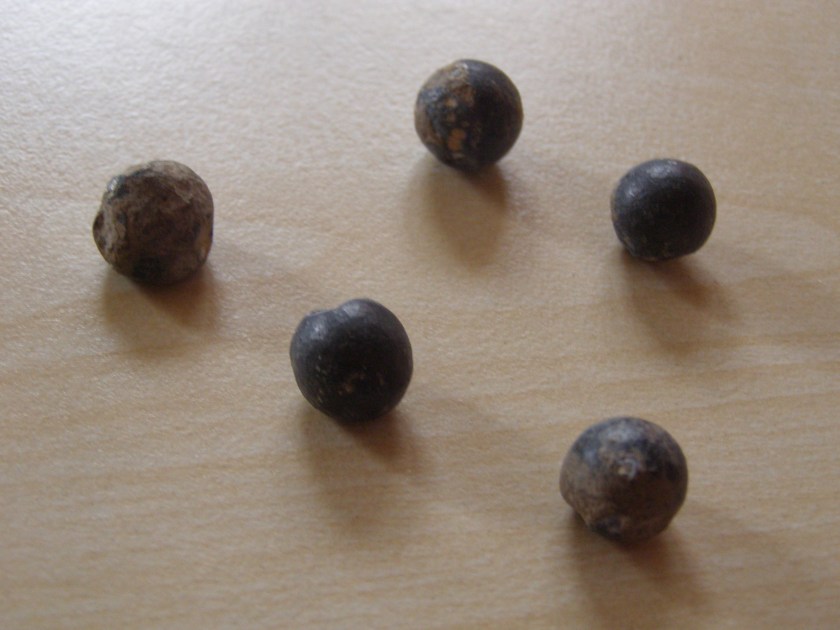
Musket balls recovered from the Kliszόw battlefield.
So, what do I think of The Last Vikings? Working from a review copy, this is the third Strategemata design I have looked at. The thing that links all three together is the clear passion those associated with the company have for Polish and East European military history. The previous two games, Festung Breslau and Battles of The Black Cavalry – Hill 112, both had high levels of innovation worked into their operations. The Last Vikings is not so innovative in terms of its feel, but it does get a good job done in the way it covers its subject matter. There is no point in innovation for innovation’s sake, so working with some familiar concepts linked to the presentation of unfamiliar subject matter was a help to getting a grasp of the design.
The English in the rulebook is fine – not always the most apposite phrase or term is employed, but clear enough. Just here and there in the scenario book’s historical notes things do go a little bit more awry, but not so the text becomes impossible to understand.
As I said earlier, some illustrated examples of play would have been a massive help. As far as I am aware, after swapping messages with the designer, Slawomir Łukasik, the only component hiccup is the transposing of the optional wing assignments for Swedish infantry at the Klizsόw battle – to be remedied by assigning ten units to the left and three to the right rather than the other way around.
There is hardly a copious amount of literature available in English on these battles, so one other positive about this design is how it has encouraged me to the opinion that I have been missing out on something. I am aware that the era and some of these same battles are going to receive treatments from other designers, which, alongside this work, is all to the good because, specialised interest or no, the battles and the armies presented thoroughly deserve their place in our hobby.
Paul Comben
About the Author

Paul has been involved in the hobby since the early 1970s. Of largely Belgian ancestry on his father’s side, and English (Yorkshire) on his mother’s, after finishing his education he worked in tourism and student services, and also spent some time in the former West Germany. He met his wife Boo in 1990, and they married a couple of years later.
Paul hails from a long line of former servicemen – one grandfather was a sergeant in the BEF of 1914, whilst two of his great grandfathers were killed serving with the Royal Navy. His own father, who was born in Britain, served with the army in Malaya in the early 1950s.
Related Articles:
