By Paul Comben
Publisher Vento Nuovo Games
Designer Emanuele Santandrea
(Some images courtesy of BoardgameGeek.com)
Inevitably, some games on some subjects have us searching around our catalogue of game play experience looking for the most apposite terms of reference. However, from time to time you get a game that really does not put us in mind of anything else. My recent review of W1815 for The Boardgaming Life highlighted such a game; and now, I come to a second Waterloo game which is unique and entirely of itself.
Superficially, this Vento Nuovo title might prompt considerations of similarity with several Columbia designs – especially their Borodino – but beyond a certain resemblance in physical format, Waterloo 200 has very little in common with Columbia’s work. What we have here is an entry-level block game, which, surprise surprise, emphasizes fog of war, but adds to that impulse movement on an area based map, as well as the wearing friction of command, maneuver and combat, the various crises pertaining to battlefield commitment, and all this alongside a dice-less combat system, which, at least initially, will leave many a player scratching their head and wondering what to do. My advice to such players: leave your personal Waterloo baggage elsewhere and give this game time to work its charms on you, because this is really rather special.
The Terrain and the Material

Waterloo 200 presents the famous field divided into a large number of areas, each graded for an inherent defence value (how much benefit is afforded defending units) as well as a colour to denote the area’s movement cost and stacking capacity. As such, Wellington’s line is replete with higher defence values and choke points, where room for mass maneuver is decidedly on the tight side. Alongside Hougoumont and La Haie Sainte, the eastern farms of Frischermont and Papelotte are also present, as well as what the game refers to as the “Chemin Creux.” This represents both the sunken lane running along much of Wellington’s front, and the concealment of the reverse slope – defence values go up, stacking capacities for both sides go down, and the Anglo-Allied player has the ability to deploy an extra unit from his small reserve to a newly attacked Chemin Creux area (potentially giving the French a nasty surprise or two). Also presented are symbols for victory areas (you really need to get to know these and how to approach them), as well as the HQ administration areas for the armies, the Prussian entry areas, and the initial deployment areas – these coded by corps and unit type.
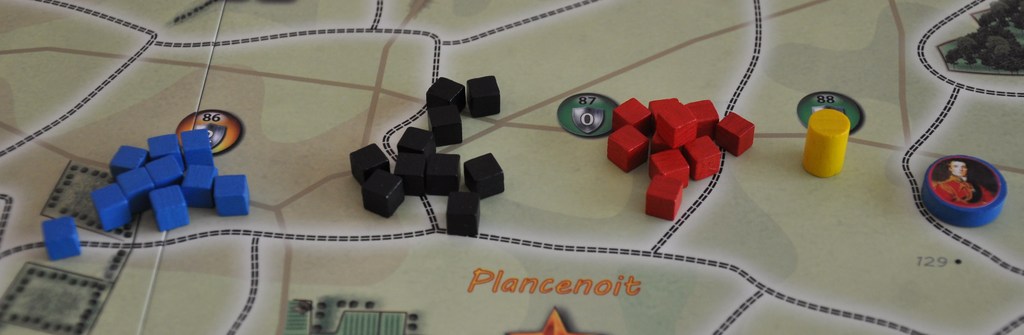
 One thing that should be apparent and noted by any experienced Waterloo player is that this design’s interpretation of the Waterloo territory favours the eastern side of the field. There is no maneuver room west of the Nivelles Road; but by contrast, the Prussian approach area is considerable, as is, by consequence, the potential for the French army to unhinge the Duke’s position from the east. Overall, the placement of the victory areas gives due emphasis to compromising the Duke’s position, (Hougoumont and La Haie Sainte are very much part of that), as well as representing what might be called the heart, brain and limbs of the French army – its initially controlled victory areas being Napoleon’s position at Rossomme, along with La Belle Alliance and Plancenoit.
Looking briefly at some practicalities, the play area is presented on reasonably thick stock, with its graphics showing contours, decorative areas of cultivated fields around individual houses and villages, woods, streams, and a range of administrative tracks (mainly game turn and losses) along the western map edge.
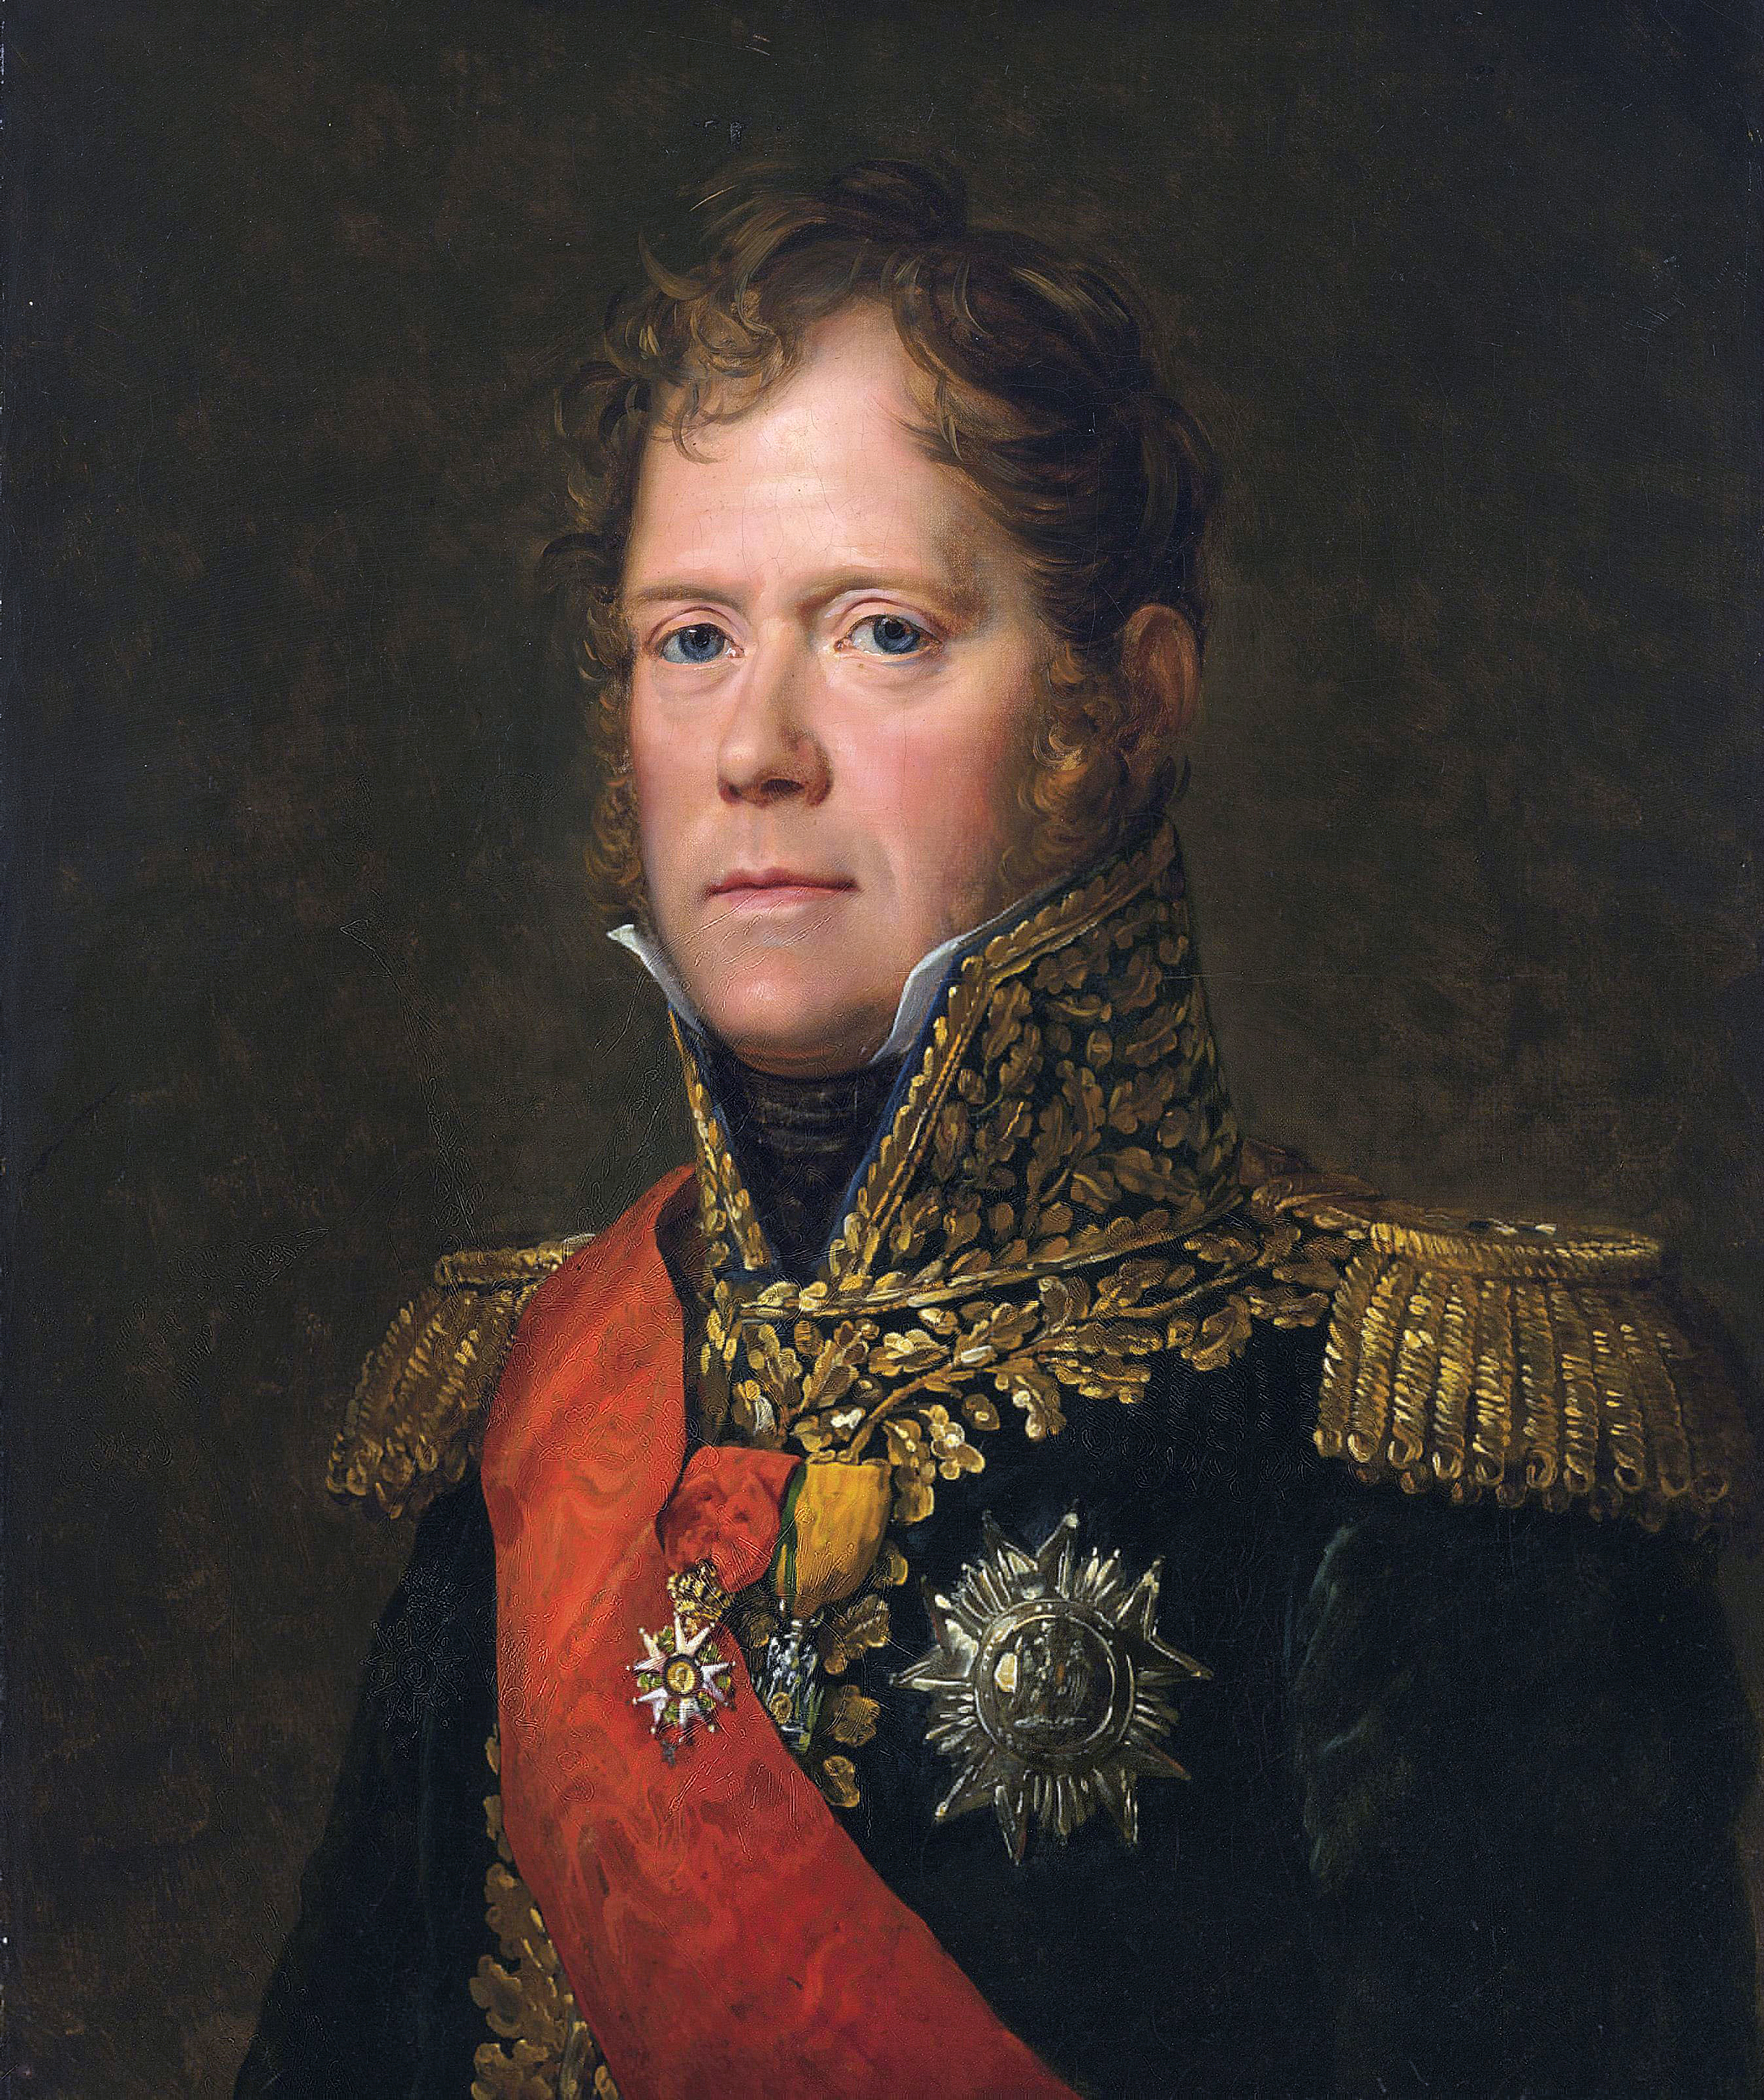
*oil on canvas
*65 x 55 cm
*1812
The stickers for the units are colourful and attractive, and match well with the map’s presentation. Armies consist of brigades of infantry and cavalry, corps assets of artillery, key tactical leaders, and the three army commanders – and just in case you are wondering, there is no Ney for you to dash around with. Of course, the look of these units can invite a certain sense of similarity to Columbia designs (pips for strength and rotation of the block to denote losses or command wear and tear), but beyond these superficial considerations, this game really does go its own way. Key to this is the grading of units by pip colour – from red for superior forces, to white, then to black. Forces can degrade in colour as they lose strength, whilst entirely black pip forces (as you will find in some Anglo-Allied and Prussian units) are basically accidents waiting to happen. Just how big an accident we will come to a little later.
Absolutely vital to the function of the game are the “faction” (army command) and tactical leaders. Without leaders in the right place, and those still possessing some military “shove,” you will find it very difficult to make effective moves with your forces. Tactical leaders have to have units in range (usually two areas for the French, and one area for their opponents), in order to get them moving and fighting – and leader combat bonuses, translating their star “strength” to military force, is only available if the leader is adjacent to, or in, the area where a battle is being fought. The leader units all show a portrait of the personality in question, and again, compliment the overall visual effect of the game.
Moving and Fighting
 The game is played in alternating impulses, with an indefinite number of these making up a game turn. A turn, which represents two hours of real time, will not end until there are consecutive passes from both players. The thing most likely to prompt such passes is command wear and tear on the respective forces. Your army leaders can activate, in each impulse, a number of tactical leaders equal to their present command rating – and that, like some other key things, will degrade as the battle goes on. You do not have to activate everyone you can – economy at times may be a good idea; and if you presently hold the initiative disc, by spending the disc (handing it to your opponent) you can perform what is called a “Strategic Action” or call for reinforcements. A Strategic Action gives you the chance to move a number of units up to the command rating of your army leader without degrading the capacities of your tactical leaders. A Reinforcement Action is something rather unique to this presentation of Waterloo, and works alongside the initial deployments of the French and Anglo-Allied armies. The game mixes things up by calling on players to blind draw their starting contingents, which do broadly pertain to the historical corps assignments, but can lead to different forces from the strictly historical defending those key bastions along Wellington’s line, as well as rendering a different look and feel to the initial French attack disposition. Everything not actually starting on the map (apart from the Prussians) forms a reserve for the starting armies.
 If this seems odd, try to think of these forces as being present on the field (i.e. they are not still trailing in from somewhere else) but are not presently in the mind of the commander as needing to be sent in. I must admit that I liked this effect, as it offers, in an easy play format, something new for a Waterloo game, and has a bit of welcome atmosphere about it. The French, I should add, have a considerably bigger reserve than the Anglo-Allied army, and thanks to the random mix for deployment, you never know exactly what you will be getting.
 Many game impulses, however, will be Tactical Actions. The onus of carrying the attack to the enemy will fall on the French, at least until they have captured enough victory areas to feel confident of winning the game by territorial possession. The rub is, the more the army’s formations are activated, the quicker your key leaders will wear out – at the end of each impulse, an activated leader will be de-activated and reduced by one level, and once at their base level, their command range and combat contribution are severely limited. The army commander can restore some ability to depleted tactical leaders during the end of turn Reorganization Phase, but this capacity is limited, and the army commander is himself reduced at the end of each turn where he has been so employed – hence restore and repair is strictly limited.
A game tactic for both sides, but perhaps especially for the Allies in the first instance, is to seek to wear out the foe with successive pass actions. At game start the Anglo-Allied army is winning by dint of how many Victory Areas are in its possession – so, if the Anglo-Allied player passes in such a situation (they will still be able to move one unit, which might be all that is necessary), the French player has to do something, with its consequent administrative cost, or the turn will end and the Prussians will creep closer. Thus, for the French, controlled aggression is key – moves that essentially amount to shuffling stuff about for the pure hell of it are no good at all. Your moves have to lead to well supported attacks, or, at the very least, prepare the way for well-supported attacks in an ensuing impulse. Of course, it is no good Wellington playing Pass actions indiscriminately, as that can amount to passive submission and end in some very bad news. As always, the situation facing the individual player needs to be assessed and acted on accordingly. As for the French, one good use of the Pass action is to employ it as an economical way of preparing an attack. Getting some extra artillery into position via a Pass does the job, and spares the relevant tactical leader a reduction.
 Part of the assessment you will need to do each impulse is relating the desired positions of your forces to how you are actually going to get there. To highlight one issue, leaders and artillery can make a major difference to the success of attacks, but once in position they can begin to crowd out an area (or fill it entirely in not a few cases, depending on area capacity) making it difficult to progress the situation further. This is something you will have to bear in mind, as some initially promising situations can turn out to be complete dead ends if you cannot bring more weight forward – in other words, watch out for those two unit capacity areas lurking around the places you really want to go to.
And what of the initiative disc? Unlike some games where there is such a factor in play, the initiative here is not something you need to cling onto for dear life. Strategic Actions are handy to have, to give a “free move” or reinforcement, and as you will certainly need one or the other fairly regularly, you should not regret spending the disc to improve your position on the map. In all likelihood, given the way the game works, you will get it back soon enough. Having said all that, one situation where hanging onto the disc could be markedly advantageous is when the Allied player is getting the Prussians onto the map. With the disc in Allied hands, Blucher can call for reinforcements as a Strategic action, and bolster the advancing Prussians whilst the current turn’s impulses are still ongoing. This will save them time. Conversely, if the French have the disc as the Prussians begin to filter onto the map, their arrival will be that more piecemeal, and many of their forces will lose a turn of potential movement as they will have to wait for the set reinforcement phase at the very end of the turn.
 Whatever overall strategy the French player opts for, it is hard not to see the capture of La Haie Sainte as the key to winning the field – not least because it will give you a fourth and potentially clinching victory area…if you can last the distance. Papelotte can seem like an easier prospect, but in the long game, you can end up surrounded by Prussians moving in on reasonably decent terrain. In these sort of games, the Allied armies only need to get two victory areas back. La Haie Sainte might be beyond Wellington, but with the Prussians homing in, both Papelotte and Plancenoit can be aimed for.
Beyond these longer term considerations, what should be apparent to any player who has looked through the system, is that the French player can possibly “Verdun” the Anglo-Allies in the La Haie Sainte area – no more than two units can defend there, whilst the French can surround the place with tactical assets (leaders and artillery) and knock out much that tries to cling to the position. In fact, it can be in the interest of the French not to win a bastion like this outright first time around. If the Allied player feeds a fresh unit in, you will have a chance of really mounting up the casualties, as well as still taking the location in due course. Especially in the case of La Haie Sainte, this kind of situation is a tricky one for the Allied player, because loss of the farmhouse area too soon not only gives the French an extra and bothersome Victory area, it also clears a path direct into the heart of Wellington’s line. Then, if the French player gets his co-ordination right, (understanding the various movement costs and deployment/stacking limits is key) after grabbing the farmhouse it will be time to put a full whack of the Guard into the “Elm Tree” area, supported by any leader or artillery unit capable of going bang.
 Such an attack can do a lot of hurt, not just in pushing Allied losses towards the break level, but also in hindering the command effectiveness of the Allied army. With the exception of the dashing Uxbridge, the Allied tactical leaders only have a command radius of one. This can make moving and attacking with the scattered Allied contingents difficult at the best of times; so, if great lumps of French units also start getting in the way of where an Allied leader needs to be and reach out to, their effectiveness will diminish all the more.
And what about those essential Napoleonic battlefield ingredients – the artillery and cavalry? Capable of firing into an adjacent area, and, in the case of the French alone, of being combined and massed to some particularly nasty effects, artillery can provide a vital extra punch to attacks. When artillery is thus employed, in a new battle area, it is depleted to its next level at the end of the impulse – and unlike the leaders, there is no restoration possible. What this depletion actually means is open to interpretation – gunners getting tired, ammunition being expended, take your pick.
Cavalry usage in the game could be seen as a bit questionable – the question arose on BGG as to whether it was just faster infantry? In answer, for both artillery and cavalry, there are some advanced rules adding more finessing, but in all truth, I have not felt the need to add any of those. Cavalry in the basic game does move faster, and the famous elites are there with their red pips, but that is it. To be honest, although this might sound a bit lackluster, within the context of the game’s operations and where your thinking is inevitably going to concentrate, that is about all you need.
So let us now look at the dice-less combat system:
As far as I am aware, dice-less combat systems are about as rare as hen’s teeth. In fact, apart from the game presented here, I can only think of three other wargames or wargame systems that have gone down this route: Avalon Hill’s Kriegspiel; TSR’s William the Conqueror; and, most relevantly to this case, the Rachel Simmons’ models, and especially as they pertain to her design, Napoleon’s Triumph (on Austerlitz).
At the core of the Simmons model is a basic, set formula:
 If a constant amount and type of attacking force engages a constant amount and type of defending force over a set, given locale approach, the result is always the same. However, what the Simmons model then does is embellish the before, middle and after of this combat with a serious amount of variables, all of which can take the set result and augment it to diverse final effects. These variables include: does the defender retreat from the attack prior to combat; is the attack really a feint; does the defender commit more force to the approach; is there a counterattack; are there other forces in the defending locale, and if so, where? Such factors can offer a giddy amount of imponderables beyond the initial equation, and to that end, make dice and the chance fall of dice superfluous.
But what about the system in Waterloo 200?
On the face of it, all you have is its own version of the aforementioned equation: If set Force A attacks set Force B in a fixed area, the result is always C. Putting this is straightforward terms, if units totaling twenty points assault units totaling eight points in an area with a terrain value of four, the defender is always going to be facing eight loss points and the attacker (via the game’s provisions) will always have to lose one quarter of that amount – two. Taken in isolation, this hardly looks inspiring as a method, fog of war or no, but there are variables in this system providing you study the game enough to understand where they are. To begin with, losses mean different things to different unit qualities. Red pip units need three hits to reduce, and losses are always taken from the stronger (more pips) unit first. So, if you have an area defended by two four red pip units, eight hits will rotate/reduce each one by one level, and if those reduced levels are still red pipped, the remaining two hits will have no effect. On the other hand, two four strength black pip units are going to disappear completely under the same combat result – not good news at all. To help avoid this, like the Duke on the day, mix some better quality units with the third-raters.
 To what extent you consider this a variable is probably open to question, but it is there, in the mix, and does add contrasting fortunes to many apparently set results. But where the real variable kicks in is with the impulse system. In many fog of war games, the effect of not knowing precisely what is where can be somewhat diminished by the simple fact that your opponent is going to be moving all their stuff in one go each turn, thus allowing you, at the very least, to see how the field is shaping before the onus falls on you to respond. However, within Waterloo 200’s design framework, with impulses coming thick and fast, and formations, in different “blends,” able to activate each friendly impulse, you literally may only have your very next impulse to respond to this or that looming hurt coming your way. And at times, you may conclude that your opponent is bluffing, because neither you nor your enemy can have strength everywhere – or by contrast, you may fear the worst is about to happen unless you respond. This, I believe, readily equates with the feints, commitments and withdrawals of the Simmons model, and gives what first appears as an inflexible combat process a real sense of drama and uncertainty.
The Pace of Battle
As the online strategy notes make clear, the French have several ways of winning this battle, most of which revolve around either bludgeoning the Anglo-Allied army into a rout by losses (ten units) or by a more cautious, surgical approach aimed at taking the right number of victory areas and letting the clock run. My own plays of the game tend to confirm that either way can work…or go horribly wrong…for either side. It is tempting, from the Anglo-Allied perspective, to think of a successful strategy as a sort of Napoleonic “rope a dope.” Essentially, you are winning until the rules say otherwise, and providing the initial deployment mix for your army has not been too sparse on quality, you should be able to keep your actions limited and apposite, and thus wait for the French to wear out and the Prussians to step Vorwarts.
 Of course, none of this is absolute: a well aimed Anglo-Allied counterpunch is entirely valid if offered at the right moment, and especially if it causes an issue that detracts from the enemy’s ability to maintain attention on your own weak points. It is also important to understand that positions can unravel with alarming speed in the face of brute and well-timed applications of force – and especially if there is a marked difference in force quality along with quantity (quality can often buy you time if nothing else). For the French, making the Anglo-Allied army busier than it is really capable of being can be an important stratagem. Gaining five of the seven victory areas should elicit the sort of response you can douse with artillery, with better quality units, and with tactical superiority. You will also be wearing out Wellington and his commanders. But there are chances for both sides: for after winning a few games through some pretty blunt pounding as the French, my most recent encounter saw the end of Napoleon’s career through a devastating collapse. Pushing for a victory by accumulated Anglo-Allied casualties (which was getting close) and “courageously” ignoring (well, just screening) the first arriving Prussians as the Guard went blasting forward, it all went terribly wrong when the dashing Uxbridge launched his best brigades in one massed attack aimed straight at D’Erlon’s overextended line, and by dint of putting a lot of the French I Corps on the loss track, whilst Bulow did the same to my inadequate cavalry screen, French casualties went whizzing past Wellington’s, and the remnants of the French army, as one can well then imagine, went whizzing past their dumbfounded emperor on their way back to France.
 And note: none of my own games have gone the full distance largely because of the desire to keep the Prussians out of it. The French army, for reasons already given, is likely to be a bit worn by the time the Prussians start arriving, and the way the game works, whatever you might effect against them with an overstretched army will rarely contribute much to winning the game – as in W1815, Prussian casualties do not add to the victory by loss totals, and if you seek to set up a really decent flank defence, it will take units, and perhaps more importantly, tactical leaders, out of the decisive front against Wellington. It is my early impression that winning by possession of victory areas (that means holding a minimum four of the seven), especially for the French, is going to require very careful play as everything has to be in the right place to respond to anything like decent Allied opposition. Holding all seven such areas for an immediate victory is unlikely, in my experience thus far, as is killing either Napoleon or Wellington. Going for a victory by killing ten units is a real possibility for the French, given their more numerous tactical leaders, and as was said at that famous breakfast two hundred years ago, their powerful cavalry, their Guard, and their “numerous artillery.”
Conclusion
I must be honest and say I was not too certain of this game at first. I was worried about the combat system lacking enough variability to prevent contesting forces “gumming up” through want of decisive margins, but with repeated play has come more proficiency about how things fit together. To that end I would urge caution when assessing this game – give it time, and do not become overly swayed by any initial impressions. There is real quality, challenge and enjoyment here, and all within a very small rules package. And yes, there are some extra rules, and these essentially options for a tad more realism in this and that – but thus far, I have not felt the need of them, although others may well disagree and want to have them in effect.
There are two things I am not so keen on. I can work with the “basic” rendering of cavalry in the game, but not to the extent, as you will see in the designer’s own instructional films, of having cavalry defending in areas like the Hougoumont woods. That is not for me, so my games rule that sort of thing out. I was also a little iffy about tactical leaders offering support to areas where they have no units integral to their own commands – again, something you see in the designer’s films. But on this one, I decided to let it go as written, partly because I did not want to clutter the game with my caveats, and also because I could think of enough reasons/circumstances where such a leader might still be influencing events.
 To conclude, I rather suspect that this is a game that will have its enthusiasts as well as those who might give it a try or at least think about it, and then conclude that it is not for them. It all might depend on how much Waterloo baggage you have, and how an “out of the ordinary” system relates to you…or does not. I think this is also the case with the Simmons games, which are not for everyone, and fair play to them if they want Austerlitz, Marengo or Gettysburg done in a more orthodox fashion. The strengths of Waterloo 200 are component quality, short rules, a serious and different form of challenge with a familiar theme, and very little down time for the currently passive player. In all, a fine design from a great team over in Italy.
Related Articles:
Small But Perfectly Formed – A Boardgamimg Life review of W1815
Waterloo – An Utter Waste of Time
Several Ways with The Hundred Days
Borodino 1812: Board Game Review
Le Vol de L’Aigle (The Flight of the Eagle) Volume 3: A Board Game Review
Umpiring the Empire-TheBoardGamingLife Player Aid for Le Vol De L’Aigle
Le Vol de L’Aigle – A Board Gaming Life After Action Report
Legion of Honor – A first look by TheBoardgamingLife
A Real-World Approach to Understanding the Attack Sequence
We like to hear from you. Please feel free to leave your comments below.
About the Author

Paul has been involved in the hobby since the early 1970s. Of largely Belgian ancestry on his father’s side, and English (Yorkshire) on his mother’s, after finishing his education he worked in tourism and student services, and also spent some time in the former West Germany. He met his wife Boo in 1990, and they married a couple of years later.
Paul hails from a long line of former servicemen – one grandfather was a sergeant in the BEF of 1914, whilst two of his great grandfathers were killed serving with the Royal Navy. His own father, who was born in Britain, served with the army in Malaya in the early 1950s.

Academy Games’ Strike of the Eagle’ also employs dice less combat if this style appeals
Ah, I thought there had to be another one or two out there.
Wonderful article. I reckon I had better pick up a copy before they’re gone.
We couldn’t ever reach enjoyment with Simmons’ NT combat system, mainly because the narrative seemed too … gamey/analytical?… to us, and we didn’t see what hat we were supposed to be wearing (leader/commander/soldier, etc) during the (at times tedious) combat process. Waterloo 200’s seems far more straight forward, with the players acting as commanders trying to manage the pace of combat, often beyond their control. It looks as if its combat system also should avoid the sometimes crazy swings of the Avalon Hill impulse games and the time-consuming wristage of some of Columbia’s titles.
I know some players are bothered about the fog of war in this design denying you a realistic view of what’s what in any given area. However, I really do think it offers more than it takes away, as combined with the impulse system, it puts a realistic stress on whether you commit or not to a response. You cannot work it all out beforehand, because there is neither the time nor the facility to see what is approaching. Combine this with a terribly easy combat resolution system to work with, and you have a winner.
I bought this game as a Waterloo addict, and was delighted…after I gave it a bit of time. I do own all the Simmons games, which do offer a different overall experience, and as I said, are for some people and not others.
Good luck with finding a copy. I am in England and found one shop with six copies, and that seemed to be it. It may be better now, but the game does seem to be selling fast.
Thank you for responding
Paul